3. CentOS安装PostgreSQL
版本信息:
- CentOS版本:CentOS-7-x86_64-Minimal-1810
- PostgreSQL版本: PostgreSQL 10.10, 64-bit
3.1. PostgresSQL的安装
1、安装rpm文件
yum install https://download.postgresql.org/pub/repos/yum/reporpms/EL-7-x86_64/pgdg-redhat-repo-latest.noarch.rpm
2、安装客户端
yum install postgresql10
3、安装服务端
yum install postgresql10-server
4、初始化
/usr/pgsql-10/bin/postgresql-10-setup initdb
5、设置自动启动并且启动postgresql服务
systemctl enable postgresql-10

systemctl start postgresql-10
postgresql的安装比较简单,官网上有明确的操作步骤
 官网
官网
3.2. 创建用户和数据库
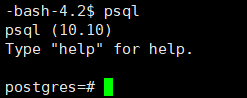
1、使用postgres用户登录(PostgresSQL安装后会自动创建postgres用户,无密码)
su - postgres
 su - postgres
 su - postgres
create user test_user with password 'abc123';            // 创建用户
create database test_db owner test_user;                 // 创建数据库
grant all privileges on database test_db to test_user;   // 授权
4、退出psql(输入 \q 再按回车键即可)
\q
 su - postgres
3.3. 开启远程访问
1、修改/var/lib/pgsql/10/data/postgresql.conf文件,取消 listen_addresses 的注释,将参数值改为 *
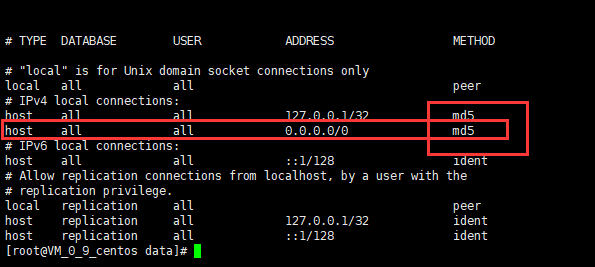
2、修改/var/lib/pgsql/10/data/pg_hba.conf文件,增加下图红框部分内容,并将ident改为md5
 su - postgres
3、切换到root用户,重启postgresql服务
systemctl restart postgresql-10.service
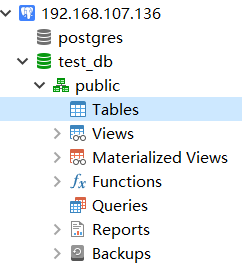
4、使用数据库连接工具测试连接
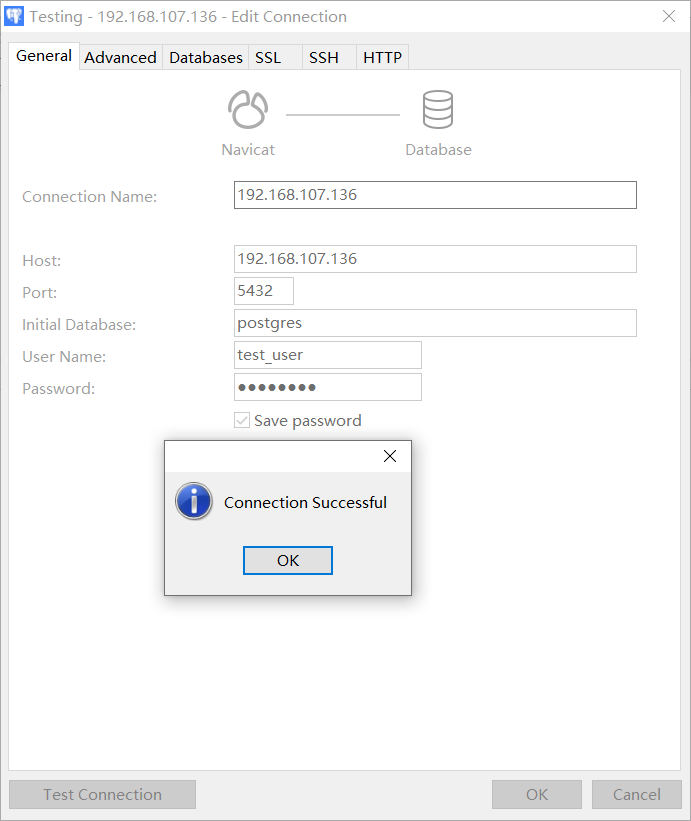 测试连接
测试连接
 测试连接
测试连接
3.4. 补充
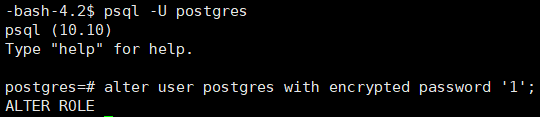
1、修改默认生成的 postgres 用户密码(此postgres非上面的postgres用户,此为数据库的用户,上面的为操作系统的用户)
su - postgres
psql -U postgres
alter user postgres with encrypted password '1';
 测试连接
测试连接
2、服务启动、关闭、重启、查看状态命令
systemctl start postgresql-10.service     // 启动服务
systemctl stop postgresql-10.service      // 关闭服务
systemctl restart postgresql-10.service   // 重启服务
systemctl status postgresql-10.service    // 查看状态